Clues!

Over the past couple of months I have managed to build and paint seven Australian themed Clue Markers for The Silver Bayonet: New South Wales. So I thought I’d show them off, because this is my blog and I can do what I want with it.
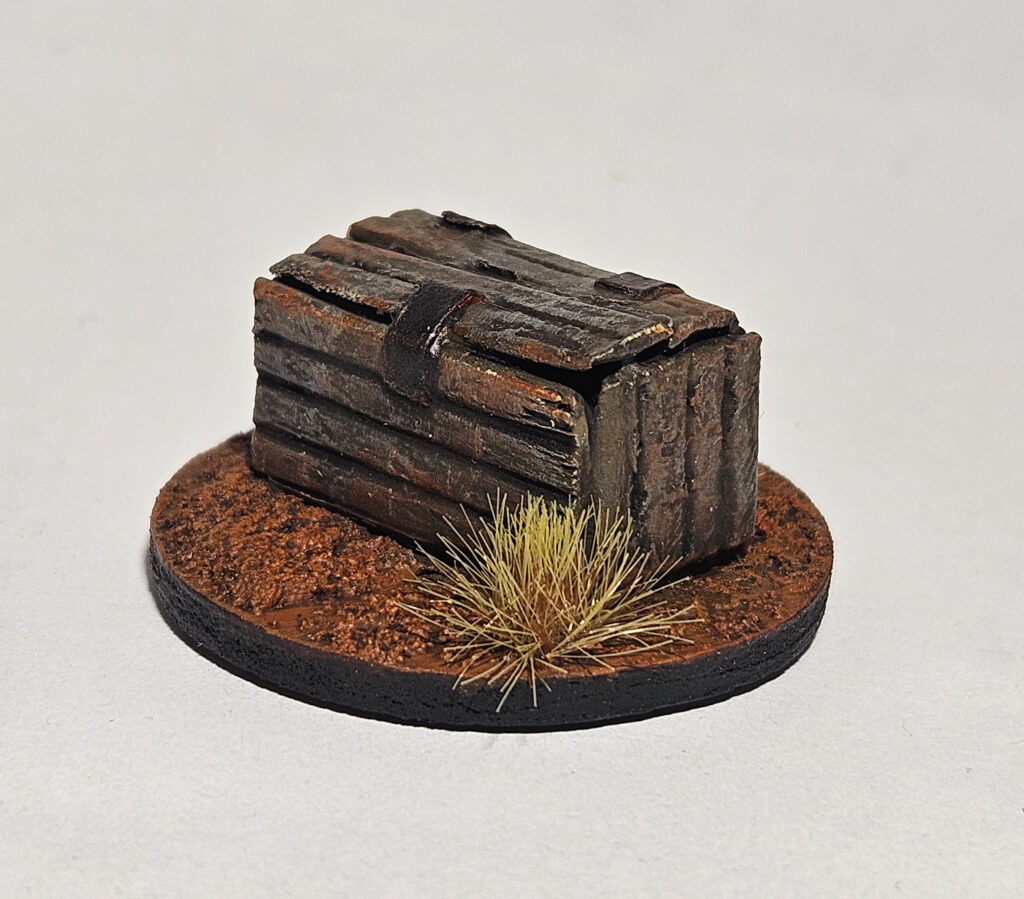
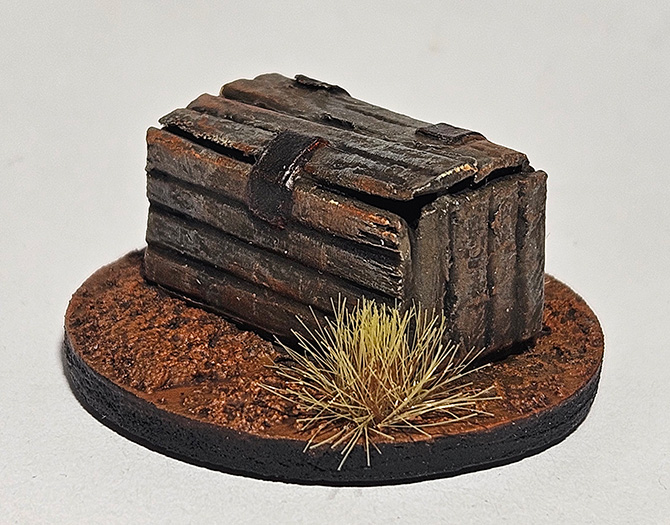
A weathered wooden chest.
Built from matchsticks with masking tape hinges.
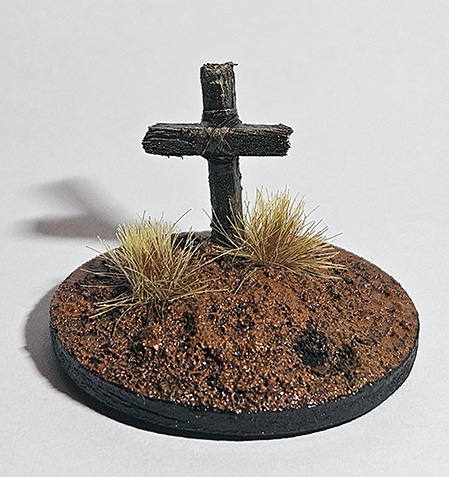
An isolated grave.
More matchsticks, with dental floss binding.
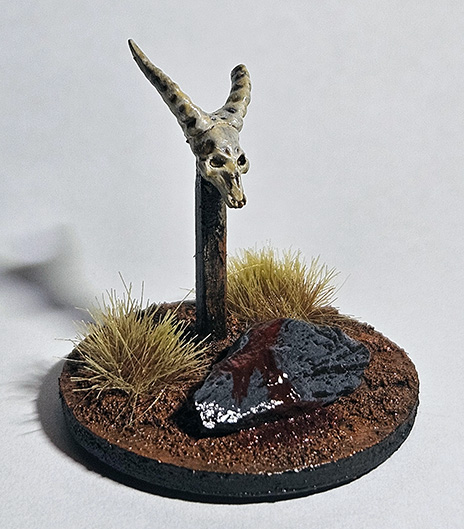
A sinister altar.
A Citadel Skulls demon skull, a matchstick pole, and a bit of slate from an ancient Citadel basing kit.
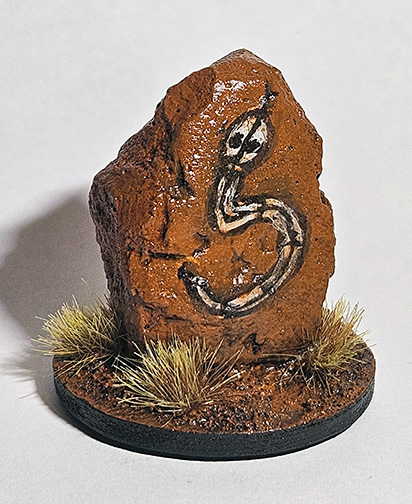
A sacred rock.
Simply a carved chunk of plaster. I initially planned to paint a Wandjina, but decided that would be a bit disrespectful, so went with a rather generic snake instead.
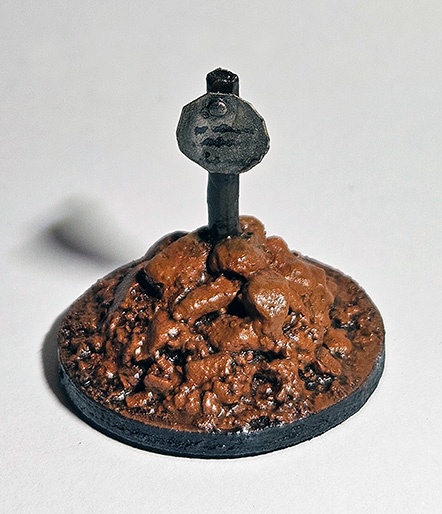
A historic plate.
Small chunks of plaster for the rocks, a flattened out split-pin head for the plate, and a sewing pin for the nail.
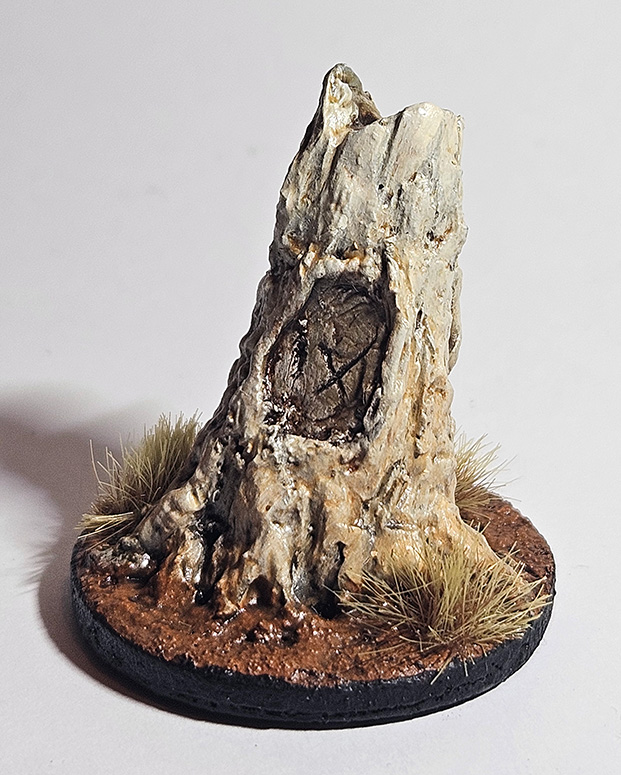
A marked tree.
Two resin tree stumps linked with a middle section of sculpted milliput. I painted and stripped this 3 times before I came up with a colour scheme I liked!
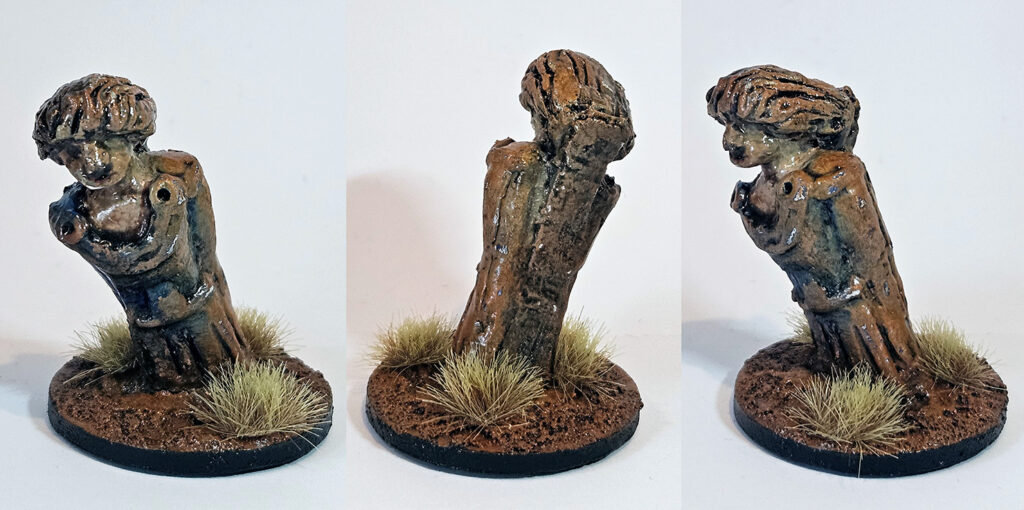
A mysterious figurehead.
The basic form is carved balsa with details sculpted on in milliput and green-stuff. I unfortunately went a bit too heavy on the varnish.
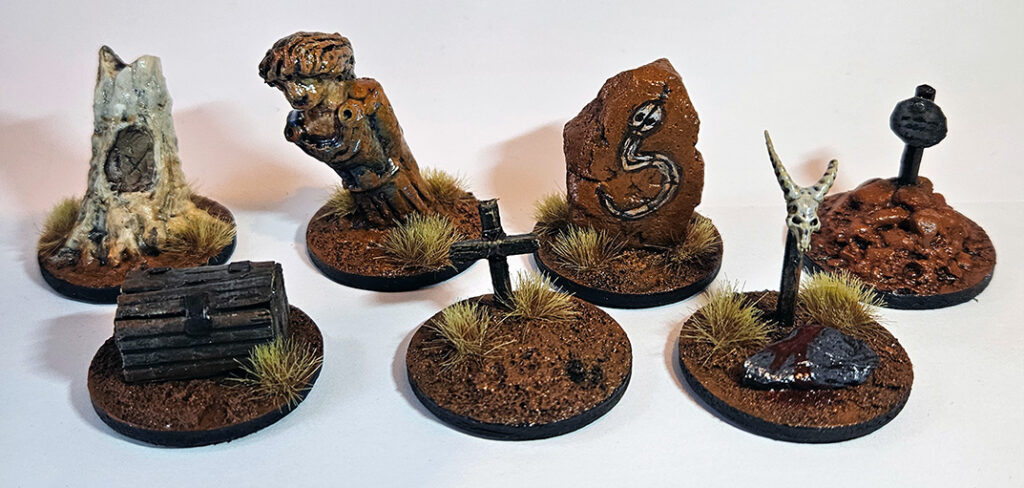
And the whole collection together!

I hope this has been enlightening!
This is Australia

I’m currently working on models and clue markers to go with my Australian ‘The Silver Bayonet’ expansion and thought I’d better record how I’m doing the bases, lest I forget and have to figure it out all over again. I also figured my process might be useful for anyone else trying to create Australian bases or scenery. So here we go.

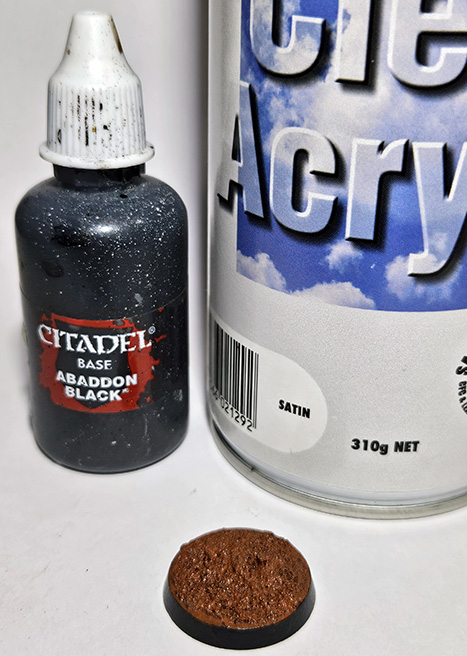
Step 1: A solid black undercoat

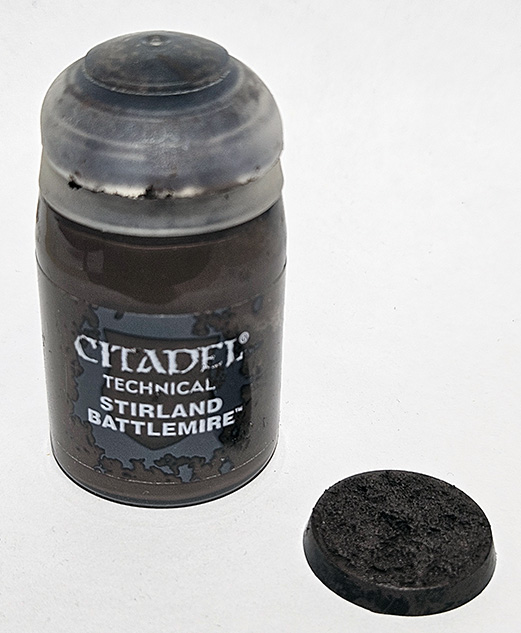
Step 2: Apply a generous dollop of Stirland Battlemire, or a similar texture paint and smoosh it around until it looks somewhat realistic.

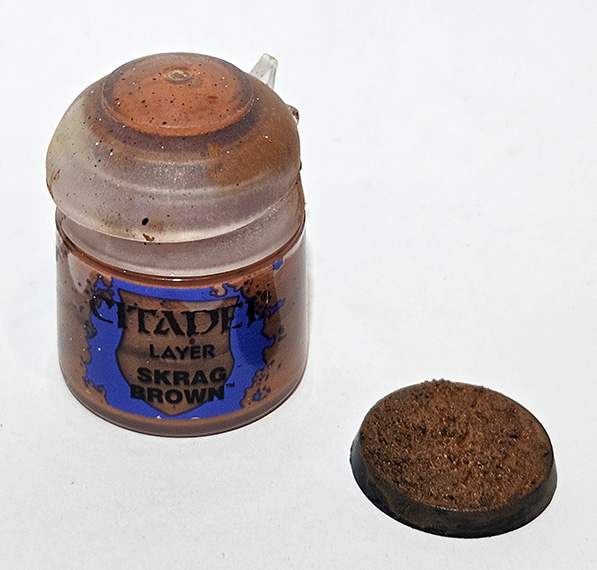
Step 3: Once the texture paint is dry, cover the base in Skrag Brown, or a similar light-reddish brown paint. Let dry.

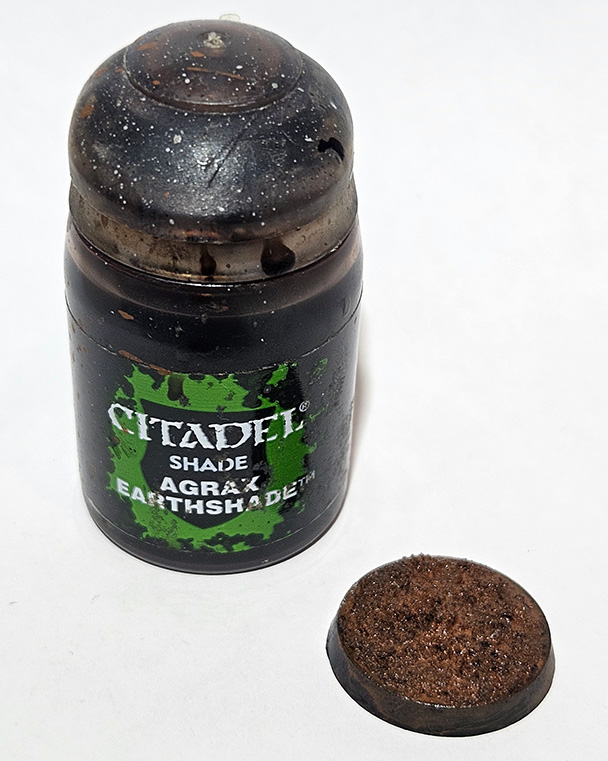
Step 4: Apply a heavy dark-brown wash such as Agrax Earthshade, and let dry.

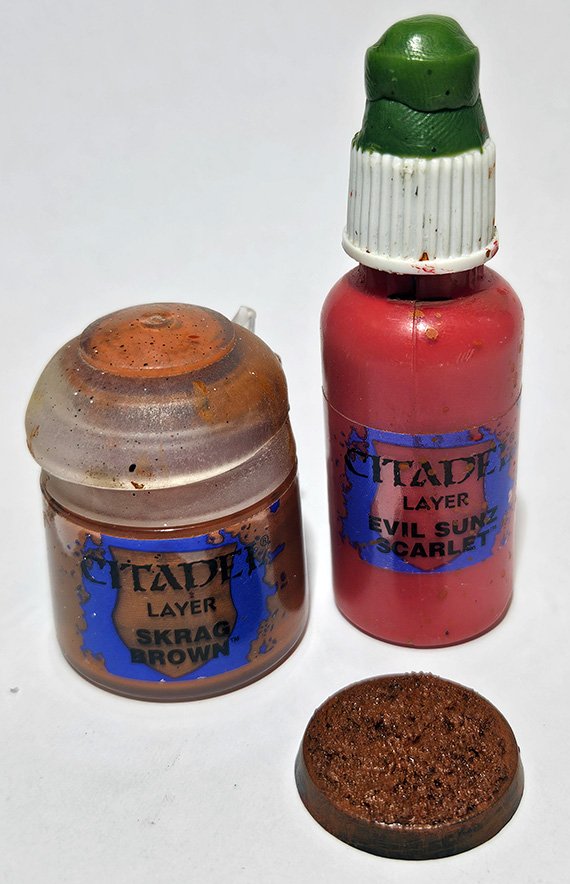
Step 5: Apply a medium drybrush of a lighter, more reddish brown than that used in step 3. I use a 2:1 mix of Skrag Brown and Evil Sunz Scarlet.

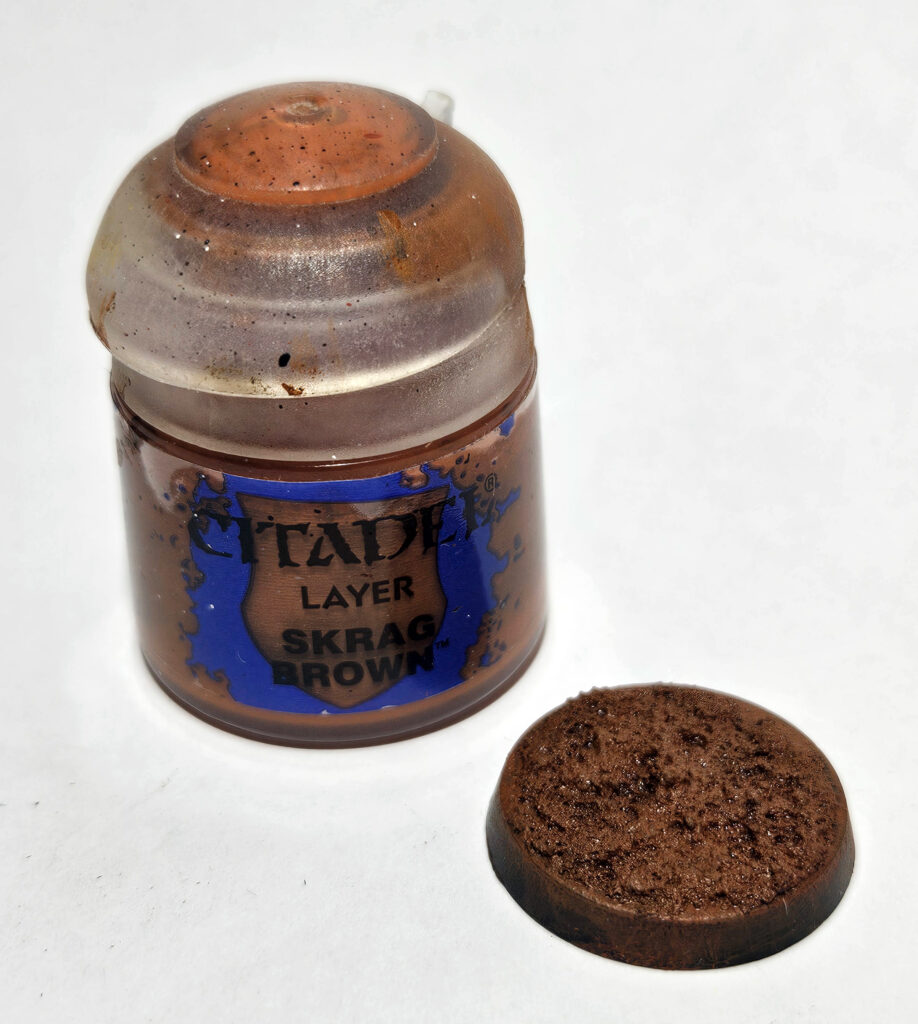
Step 6: Apply a light drybrush of the original brown from step 3.

Step 7: Paint the rim black. At this point I also seal the base with spray varnish. I use a satin varnish to give a kind of desert-pavement feel, but there’s no reason you can’t use a matt varnish if you prefer.

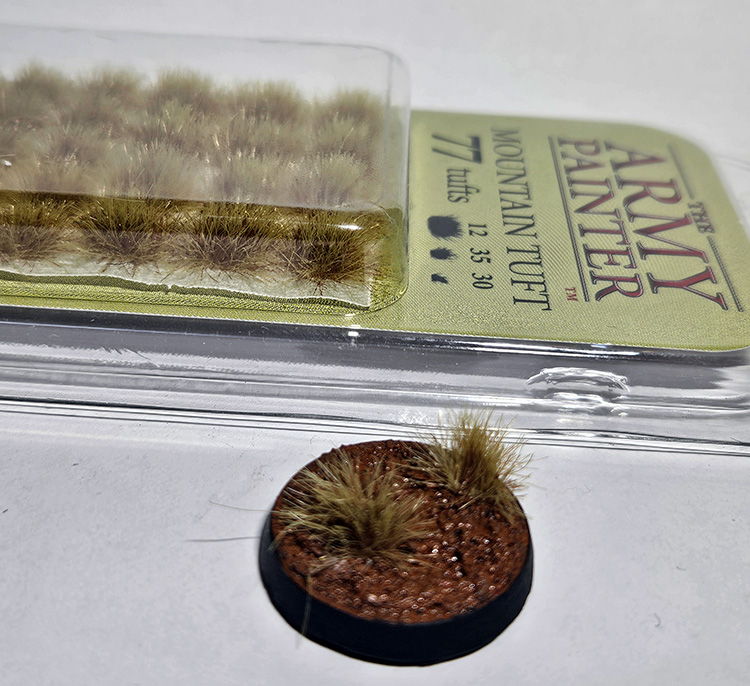
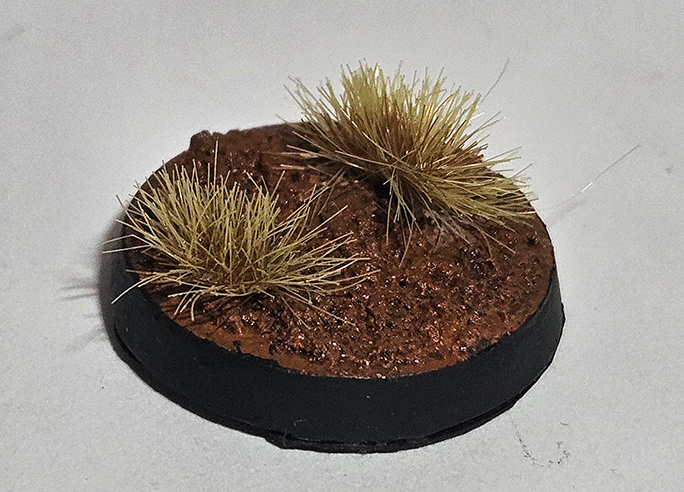
Step 8: Add some yellowish grass tufts to represent spinifex. I use Army Painter Mountain Tuft.

Voila! The desert heart of Australia in your hand!

And here’s a clue marker that I’m putting here simply because I like the way it came out.

The Silver Bayonet: New South Wales

Anyone who follows me on the few social media platforms I deign to be associated with may have noticed me muttering darkly about John Macarthur and the Batavia over the last few weeks. Today I am able to reveal why. Behold! An entirely free and possibly even useable supplement for the tabletop skirmish game of gothic horror The Silver Bayonet focused on the Colony of New South Wales!

The Silver Bayonet: New South Wales
(Version 1.2. Updated August 20th 2026)

No less than 34 pages of content containing a brief history of the colony to 1805, a (very) basic primer on Indigenous belief systems, rules for the Australian environment, eight new troop types, twenty-three new monsters, an Australian scenario, hooks for further scenarios, folk-song lyrics, and multiple proofs that John Macarthur was an utter bastard! In short, everything you need to bring the Napoleonic Wars to the land down under! (There’s even a vegemite reference if you know where to look…)

The blame for this monstrosity squarely falls on Peachy whose enthusiastic promotion of The Silver Bayonet on Juggz the Podcast got me curious enough to check it out. I hope he’s happy with himself!

Anyway, enjoy, and be sure to let me know what works, what doesn’t work, and about any adventures you have battling the forces of darkness in Botany Bay.