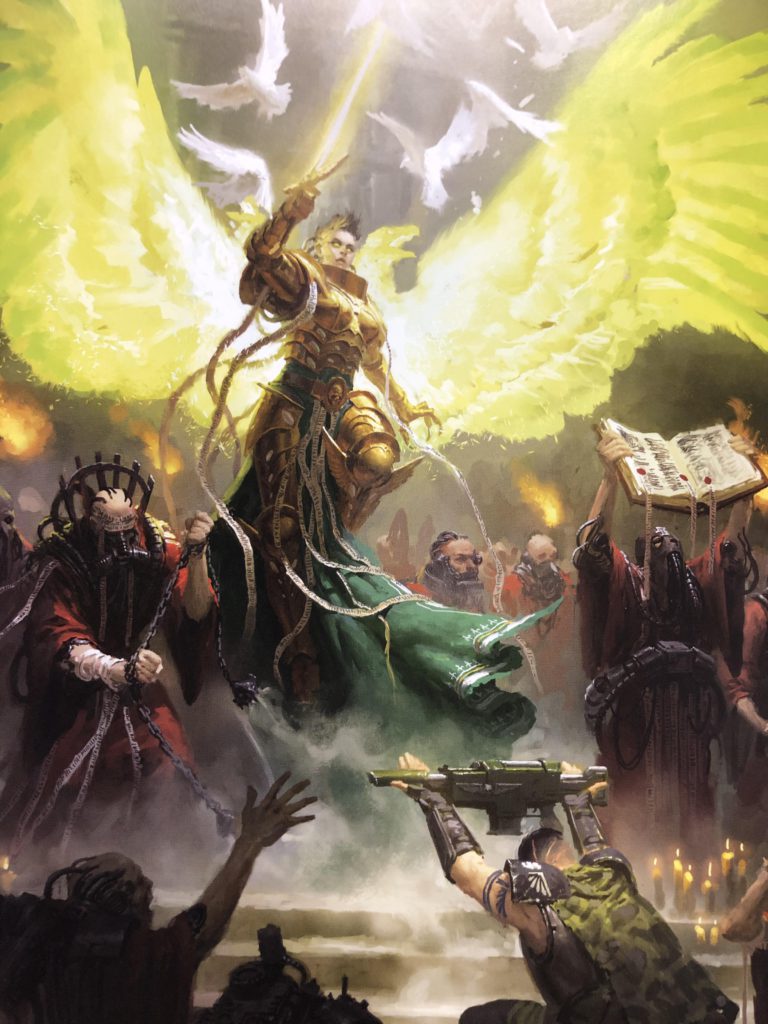
A few months back the great Duncan released the following video on how to build a brilliant techno-gothic locomotive out of Warhammer 40k scenery sprues…
There are a few bits I’d do differently if I was building one myself – a taller smokestack, sealing the rear of the engine assembly and moving the whole thing forwards a bit on the carriage – but overall, awesome!
Now, it’s intended as a terrain piece, but it got me thinking – why couldn’t you have some kind of battle actually on a moving train? The idea makes no sense for standard 40k, but for a skirmish game like Necromunda…
So naturally my brain immediately started throwing ideas around. A copy of the Necromunda rules and a whole lot of thinking later I’ve come up with a scenario I’m calling “The Great Necromunda Train Robbery”!
(It should be noted that I have never played a game of Necromunda in my life and have only skimmed the rules, so there are undoubtedly things I’ve got horribly wrong. Those that actually know what they’re doing with the game will need to bash my ideas into shape, and I’m more than happy to receive feedback on exactly what kind of bashing they’ve seen fit to employ.)
(Also you could probably adapt these rules to Kill Team, which I know even less about that Necromunda.)
THE PLOT
Automated trains run through and between the hives of Necromunda, carrying goods and supplies between mines, manufactoria and marketplaces. Your gang has decided to raid one of these trains, jumping on board at a slow turn then throwing off as much cargo as possible for later retrieval as it hurtles along its tracks. Unfortunately it seems a rival gang has had exactly the same idea for exactly the same train and a high speed confrontation is inevitable…
BATTLEFIELD
The battlefield is set up as a line of carriages, each of equal size. The carriage at the front of the train is the Engine. The carriage at the end of the train is the Caboose. There is no limit to the number of carriages but the minimum number should be five.
Each Carriage is categorised as a High Carriage or a Low Carriage. A High carriage is a tanker or bulk carrier. It can only be traversed by going over the top or climbing along the sides. A Low Carriage is a flatbed – there may or may not be cargo on it, but it can easily be climbed over or moved around.
The Caboose is a Low Carriage with a Control Console at the rear end (see below). The Engine is a High Carriage, with a Cabin at the rear end which contains a Control Console.
At least one Carriage must be equipped with a Defence Cannon at the front or rear end.
Two carriages (which cannot be the Engine or Caboose) are designated as Deployment Carriages. They must be separated by at least one other carriage and are where fighters will begin the game.
Each carriage (except for the Engine and Deployment Carriages) has a centrally placed Loot Casket.
CREW SELECTION
This scenario uses the standard rules for choosing a crew. Both players use the Custom Selection (X) method, however the number of fighters available is equal to the number of carriages +2.
TACTICS CARDS
Each player may select three Gang Tactics cards. If during the pre-battle sequence the total Credits value of fighters in one player’s starting crew is less than their opponent’s then they may randomly draw an additional Tactics card for each full 100 credits of difference.
DEPLOYMENT
The winner of a roll-off selects one of the Deployment Carriages and sets up their entire Crew on that Carriage. The other player then sets up their entire Crew on the other Deployment Carriage.
OBJECTIVES
Both gangs are attempting to throw as much cargo off the train as possible while preventing their enemies from doing the same. Each gang scores 1 point for each item of cargo thrown from the train and 1 point for each enemy fighter that goes Out of Action.
ENDING THE BATTLE
If one gang has no fighters left on the board at the end of any round, the battle ends immediately and the other gang scores D3 bonus points.
FLEEING THE BATTLEFIELD
If one gang voluntarily bottles out and flees the battlefield, their opponent automatically wins the scenario.
VICTORY
The gang with the most number of points at the end of the battle wins the scenario.
REWARDS (CAMPAIGNS ONLY)
CREDITS
Each unit of cargo a fighter throws from the train earns their gang 4 credits. The winning gang receives a bonus 1D6x4 credits. In the case of a draw, neither gang receive bonus credits.
EXPERIENCE
Each fighter that took part in the battle earns 1 XP.
The Leader of the gang that scored the most points gains an additional 1 XP (regardless of whether they took part in the battle or not). In the case of a draw, neither Leader gains this bonus.
REPUTATION
The victorious gang gains 2 Reputation. If either gang bottled out, they lose 1 Reputation.
SPECIAL RULES
SPEED
The Speed of the train is represented by a number from 1 (very slow) to 6 (very fast). At the start of the first Priority Phase roll 1d6 to determine the starting speed.
HAZARDS
Running around on a speeding train is dangerous. At the start of each Priority Phase roll 2D6 to see what Hazard occurs.
| 2D6 | Effect |
|---|---|
| 2 | Engine Vents Steam All fighters on the Engine (with the exception of fighters within the Cabin) must make an Initiative check or suffer a hit at 1d6 Strength |
| 3 | Rough Points All fighters must make an Initiative check or suffer a hit at strength Speed. Additionally if they roll a 1 they are Thrown Off |
| 4 | Defence Protocols Triggered All Defence Cannons fire at the nearest two eligible fighters at BS 4+. |
| 5-6 | Decrease Speed Speed decreases by 1. If already at 1, no effect |
| 7-8 | Increase Speed Speed increases by 1. If already at 6, no effect |
| 9 | Low Beam All fighters on top of a High carriage must make an Initiative check or suffer a hit at strength Speed x 2. Additionally if they roll a 1 they are Thrown Off |
| 10 | Burnt Out Lumens Pitch Black rules apply until the end of this round |
| 11 | Narrow Passage All fighters on the side of a High carriage must make an Initiative check or suffer a hit at strength Speed x 2. Additionally if they roll a 1 they are Thrown Off |
| 12 | Gas Pocket All fighters suffer a Choke Gas attack. |
DEFENCE CANNON
The train is equipped with at least one Defence Cannon. This can only be operated from one of the Control Consoles. Defence Cannons cannot run out of ammo and never need to be reloaded, they can however jam.
| S Rng |
L Rng |
S Acc |
L Acc |
Str | AP | D | Ammo | Traits |
|---|---|---|---|---|---|---|---|---|
| 12″ | 24″ | +1 | – | 4 | -1 | 1 | 4+ | Rapid Fire 2 |
ENGINE CABIN
A space at the rear of the the Engine is the Cabin. It has room for two fighters and provides Partial Cover. A fighter in the Cabin has access to the front Control Console.
CONTROL CONSOLES
There are two Control Consoles on the train, one in the Engine Cabin and the other at the rear of the Caboose. A standing fighter in the Engine Cabin or within 1″ of the Caboose Console may make a Basic Action to activate it and invoke an Effect. Each effect requires an Intelligence check with the modifier indicated. Both Consoles start the game Unlocked, but may be Locked with the appropriate Effect. The only Effect that may be attempted from a Locked Console is to Unlock it.
| Console Effect | Int Modifier |
|---|---|
| Lock either console | -3 |
| Unlock this console | -4 |
| Speed train up by 1 (to a maximum of 6) | 0 |
| Slow train down by 1 (to a minimum of 1) | 0 |
| Vent Steam from Engine (as per Hazard Table) | -1 |
| Make one attack with a Defence Cannon (treated as if the fighter is at the Cannon’s location) | -2 |
| Throw three units of Cargo from the train | -1 |
CARGO
A standing fighter within 1″ of a Loot Crate may make a basic action to throw a piece of cargo off the train. This scores 1 point.
MOVING BETWEEN AND AROUND CARRIAGES
A moving fighter may attempt to leap from one Carriage to another, provided that they have enough Movement to do so. The fighter stops at the end of the Carriage and makes an Initiative check. If they pass, they leap the gap and may continue moving. If they fail, their movement ends. If they roll a one they suffer a strength Speed hit.
Low Carriages have one level. High Carriages have two. A fighter may climb between levels of a High Carriage or jump down from the top level to the bottom level. A fighter may move along the side of a High Carriage, however this counts as Difficult Terrain.
THROWN OFF
If a Fighter is Thrown Off the train, they are placed next to the carriage they fell from, suffer a hit at strength Speed+2 and are Prone and Pinned.
GETTING BACK ON
A fighter beside the train may make an Initiative check with a negative Speed modifier to clamber back onto an adjacent carriage. If successful they are placed back on the top of a Low Carriage, or the side of a High Carriage.
ADVANCING THE TRAIN
At the end of the End Phase, after any Rally tests, move any fighters that are off the train back a number of carriages equal to the train’s Speed. Any fighter that goes past the Caboose is removed from the game and counts as Out of Action when making Bottle Tests and scoring points at the end of the game.
So, that’s it! Hope it works, and any feedback will be greatly appreciated.